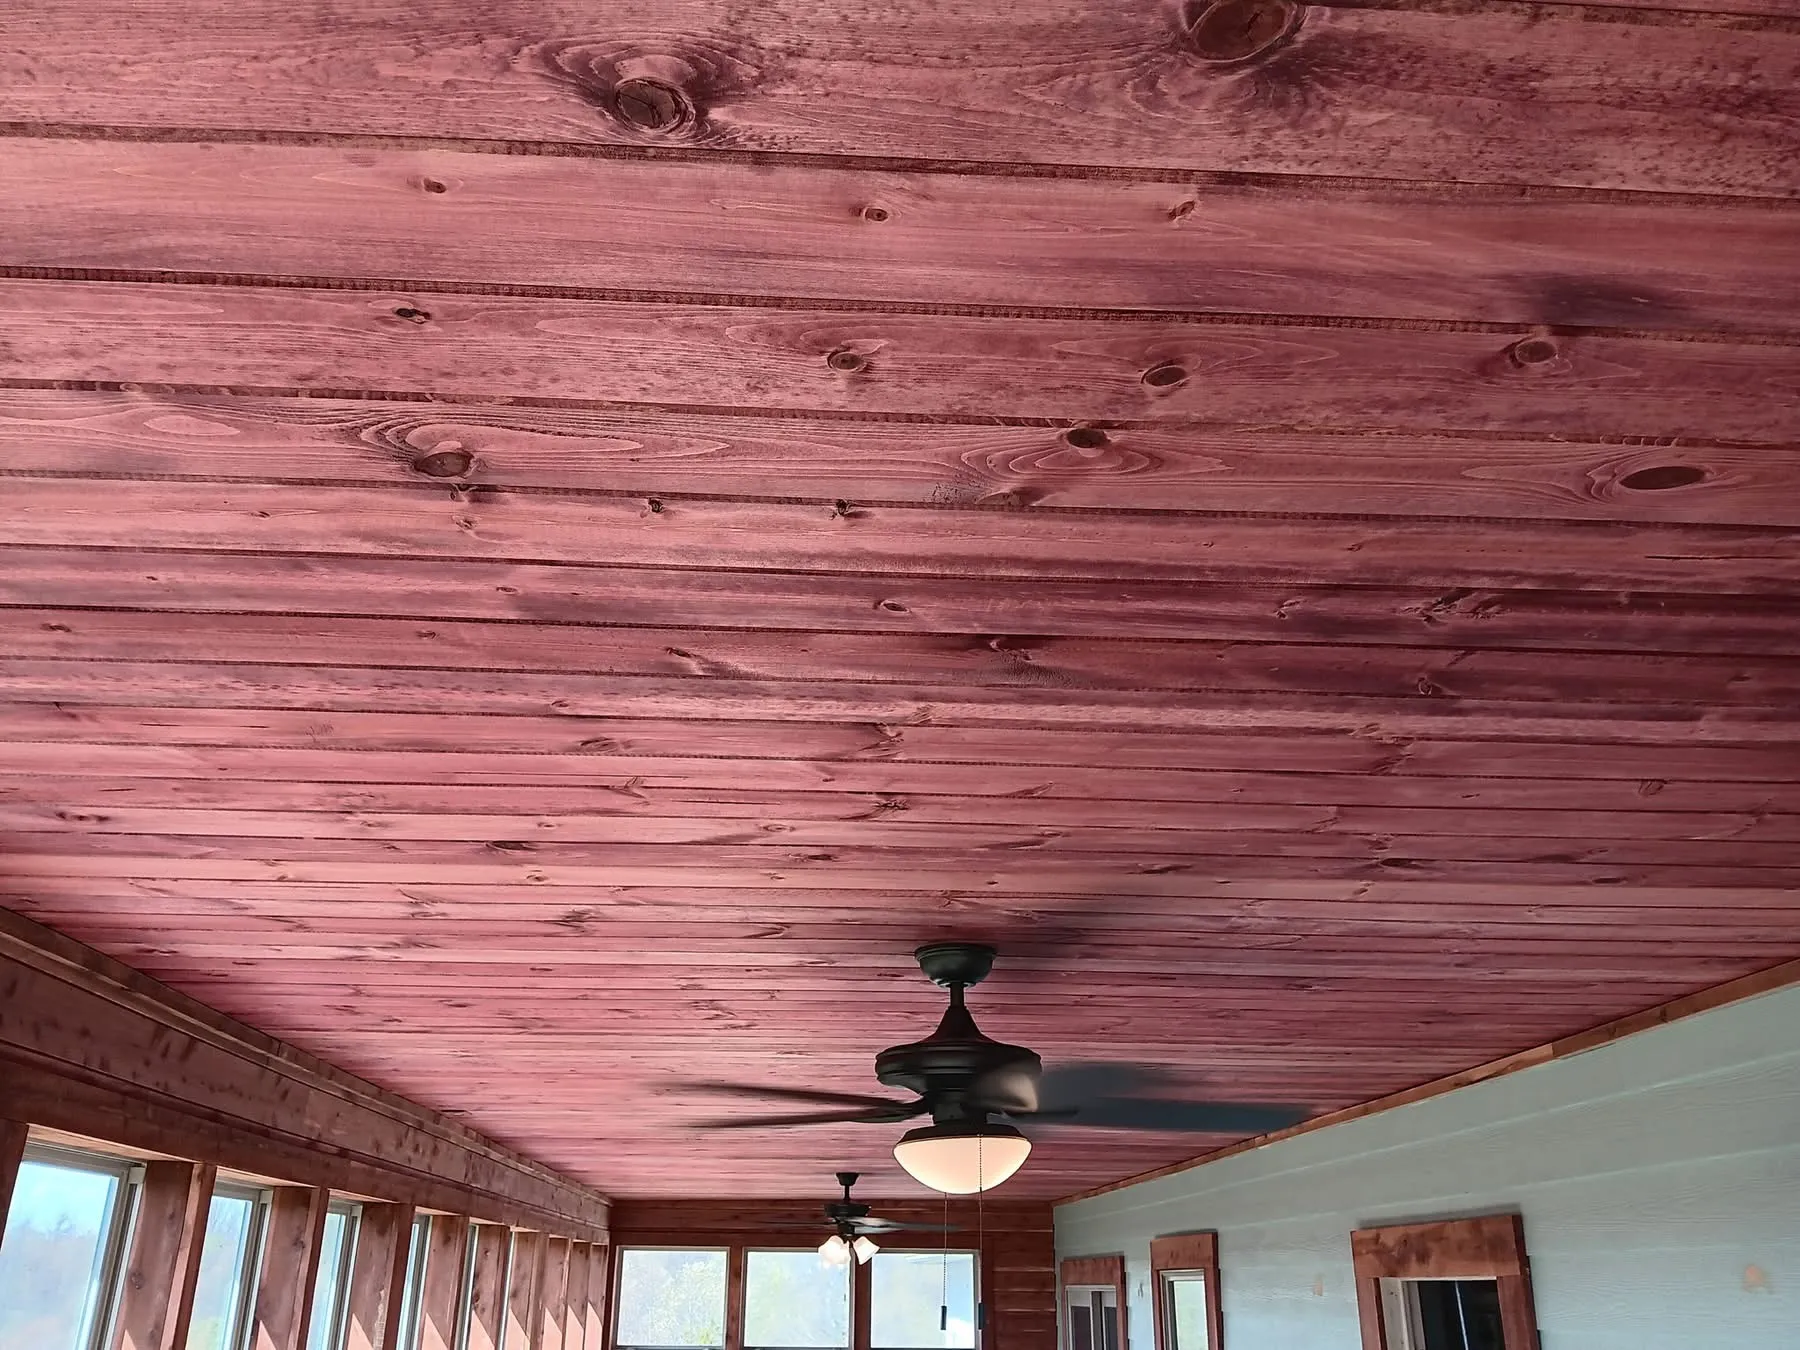
There’s something special about looking up and seeing a ceiling wrapped in real EasternRed Cedar. The color, the grain, that aromatic cedar scent — it all works together to make a home feel warm, natural, and timeless. Whether you’re finishing a farmhouse living room, a cozy cabin, or a country porch, cedar tongue and grooveplanks can transform an ordinary ceiling into a masterpiece of craftsmanship.
And here’s the good news: with a little patience (and maybe a helper who doesn’t mind looking up for a few hours), installing cedar on a ceiling is easier than you might think.
Step 1: Gather Your Tools and Materials
Before you begin, make sure you have everything you’ll need:
Tools:
- Tape measure
- Miter saw or circular saw
- Level and chalk line
- Nail gun (or hammer and finishing nails)
- Stud finder
- Safety glasses and ladder
Materials:
- Eastern Red Cedar tongue & groove planks (we recommend our ¾-inch boards for ceilings)
- Furring strips or ceiling joists for nailing base
- Nails or trim screws (1½” finish nails work well)
- Wood stain or clear sealer (optional but recommended)
- Rubber Mallet (optional)
Step 2: Prepare the Ceiling
If you’re installing over drywall, locate your joists or install 1×2 furring strips every 16 inches for solid nailing support. Use a chalk line to mark where each strip or joist runs — that’ll be your guide as you nail each plank.
Step 3: Choose Your Starting Point
Most people start along the longest wall or wherever the ceiling will be most visible (like when you first walk into the room). Hold up a few boards to get a feel for how the color and grain will flow. You can mix lighter and darker planks for a more natural look — one of the beauties of EasternRed Cedar is that no two boards are exactly alike.
Step 4: Install the First Row
Position your first plank with the groove facing out and the tongueside pointing up. Nail through the tongue at a 45° angle into the joist or furring strip — this hides the nail once the next board locks in. Check for level before moving on; the first row sets the stage for everything else.
Step 5: Continue Across the Ceiling
Lock the next plank’s groove onto the tongue of the previous board, and gently tap it in place using a scrap piece of wood to protect the edge. Keep nails angled through the tongue and into the backing surface. Stagger your end joints every few rows to create a natural, seamless flow.
Pro Tip: This is where a rubber mallet helps the most. It allows just enough cushion to protect the wood, but also gives each board a nice, snug fit.

Step 6: Cut to Fit and Trim the Edges
When you reach the final board, you might need to ripit to width on a table saw. Don’t rush this step — a clean edge here makes your finish look professional. Install trim or moulding around the perimeter to cover the expansion gap and give your ceiling a crisp, finished look.
Step 7: Optional Finish for Lasting Beauty
Eastern Red Cedar looks stunning on its own, but sealing it enhances durability and deepens the color. For interior ceilings, a clear finish helps maintain that warm red tone. You can also leave it natural to enhance the wood’s signature cedar aroma.
Step 8: Step Back and Enjoy
Now comes the best part — admire your work. Every plank tells a story, and together, they create something that feels alive, honest, and enduring. You didn’t just add a ceiling — you built a piece of art from the heart of the Ozarks.
At Mountain Milling Co., we’re proud to provide EasternRed Cedartongue and groove planks that make projects like this possible — shipped nationwide with care from our family to yours.

Want to see the finished look? Check out the Griffin Project in Arlington, Tennessee.

